How do I categorize my calendar by groups/departments?
If your website package contains the Group manager, you can apply "categories" to your events to allow your calendar to be searchable by groups/departments.
To categorize your calendar, follow these steps:
- Open the Groups manager
- Click the Group Types tab
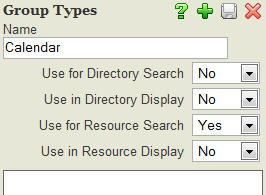
- Enter a title for your calendar group type (i.e. Calendar, Events, etc.) then set the "Use for Resource Search" value to "Yes"

- Click the small save button in the upper right corner of the Group Types window
- Exit the Group Types window
- Click the Schedules tab
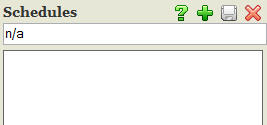
- Enter n/a and click the small save button in the upper right corner of the Schedules window (this is necessary to begin entering groups)

- Exit the Schedules window
- Click the Add New Group button

- Title the group according to the first category you want to use with your calendar (i.e. Youth, Women, Administrative, etc.)
- Choose the "calendar" group type you created in step 4 above
- Since this is not a real group with meeting times, locations, etc. you do not need to worry with changing or setting any of the other values
- Save and Exit
- Repeat steps 9-13 for additional categories/departments
- Open the Events manager
- Click Add New Event or open a previously created event
- Click the Personalization tab (this appears after saving a new event for the first time)
- Select the appropriate group from the drop-down list
- Click the small save button in the upper right corner of the Personalization window
- Exit the Personalization window
- Save and Exit
- Repeat steps 16-21 for additional events
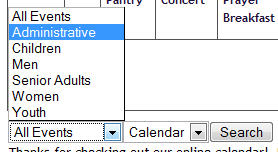
Your calendar is now searchable by categories as shown below.

Previous Page


